
Easy Bathroom Cabinet Transformation

While I didn't want to do a full bathroom remodel, I did want to get rid of the brown wood cabinet stain that seemed to darken our guest bathroom. Since I was feeling lazy, er, efficient, I decided to try out chalk paint on the cabinets in hopes of skipping the whole sanding step that wasn't very appealing to me. I'm happy to report that it worked and I haven't seen a single scratch or chip in the year since it's been painted!
I can't give chalk paint all the credit, however, because it can scratch off after drying. I think some of the credit regarding its durability should go to the finishing coat that I put on top.
Here's what I did:

I started out with wooden cabinets that simply needed to be cleaned. I used a disinfectant wipe (just the kind you clean your counters off with, like Clorox Wipes) to wipe down all of the surfaces that needed painting. Then, I used a screw driver to remove the doors.
The first shade of chalk paint I had laying around looked too dark when I tried it out, so I chose a Valspar chalk paint color very similar to my wall color and got to work painting with a medium sized paint brush. You may want to use a very fine, small paint roller for the flat and larger surfaces in order to minimize the appearance of brush strokes. You can purchase those below or at most hardware stores.

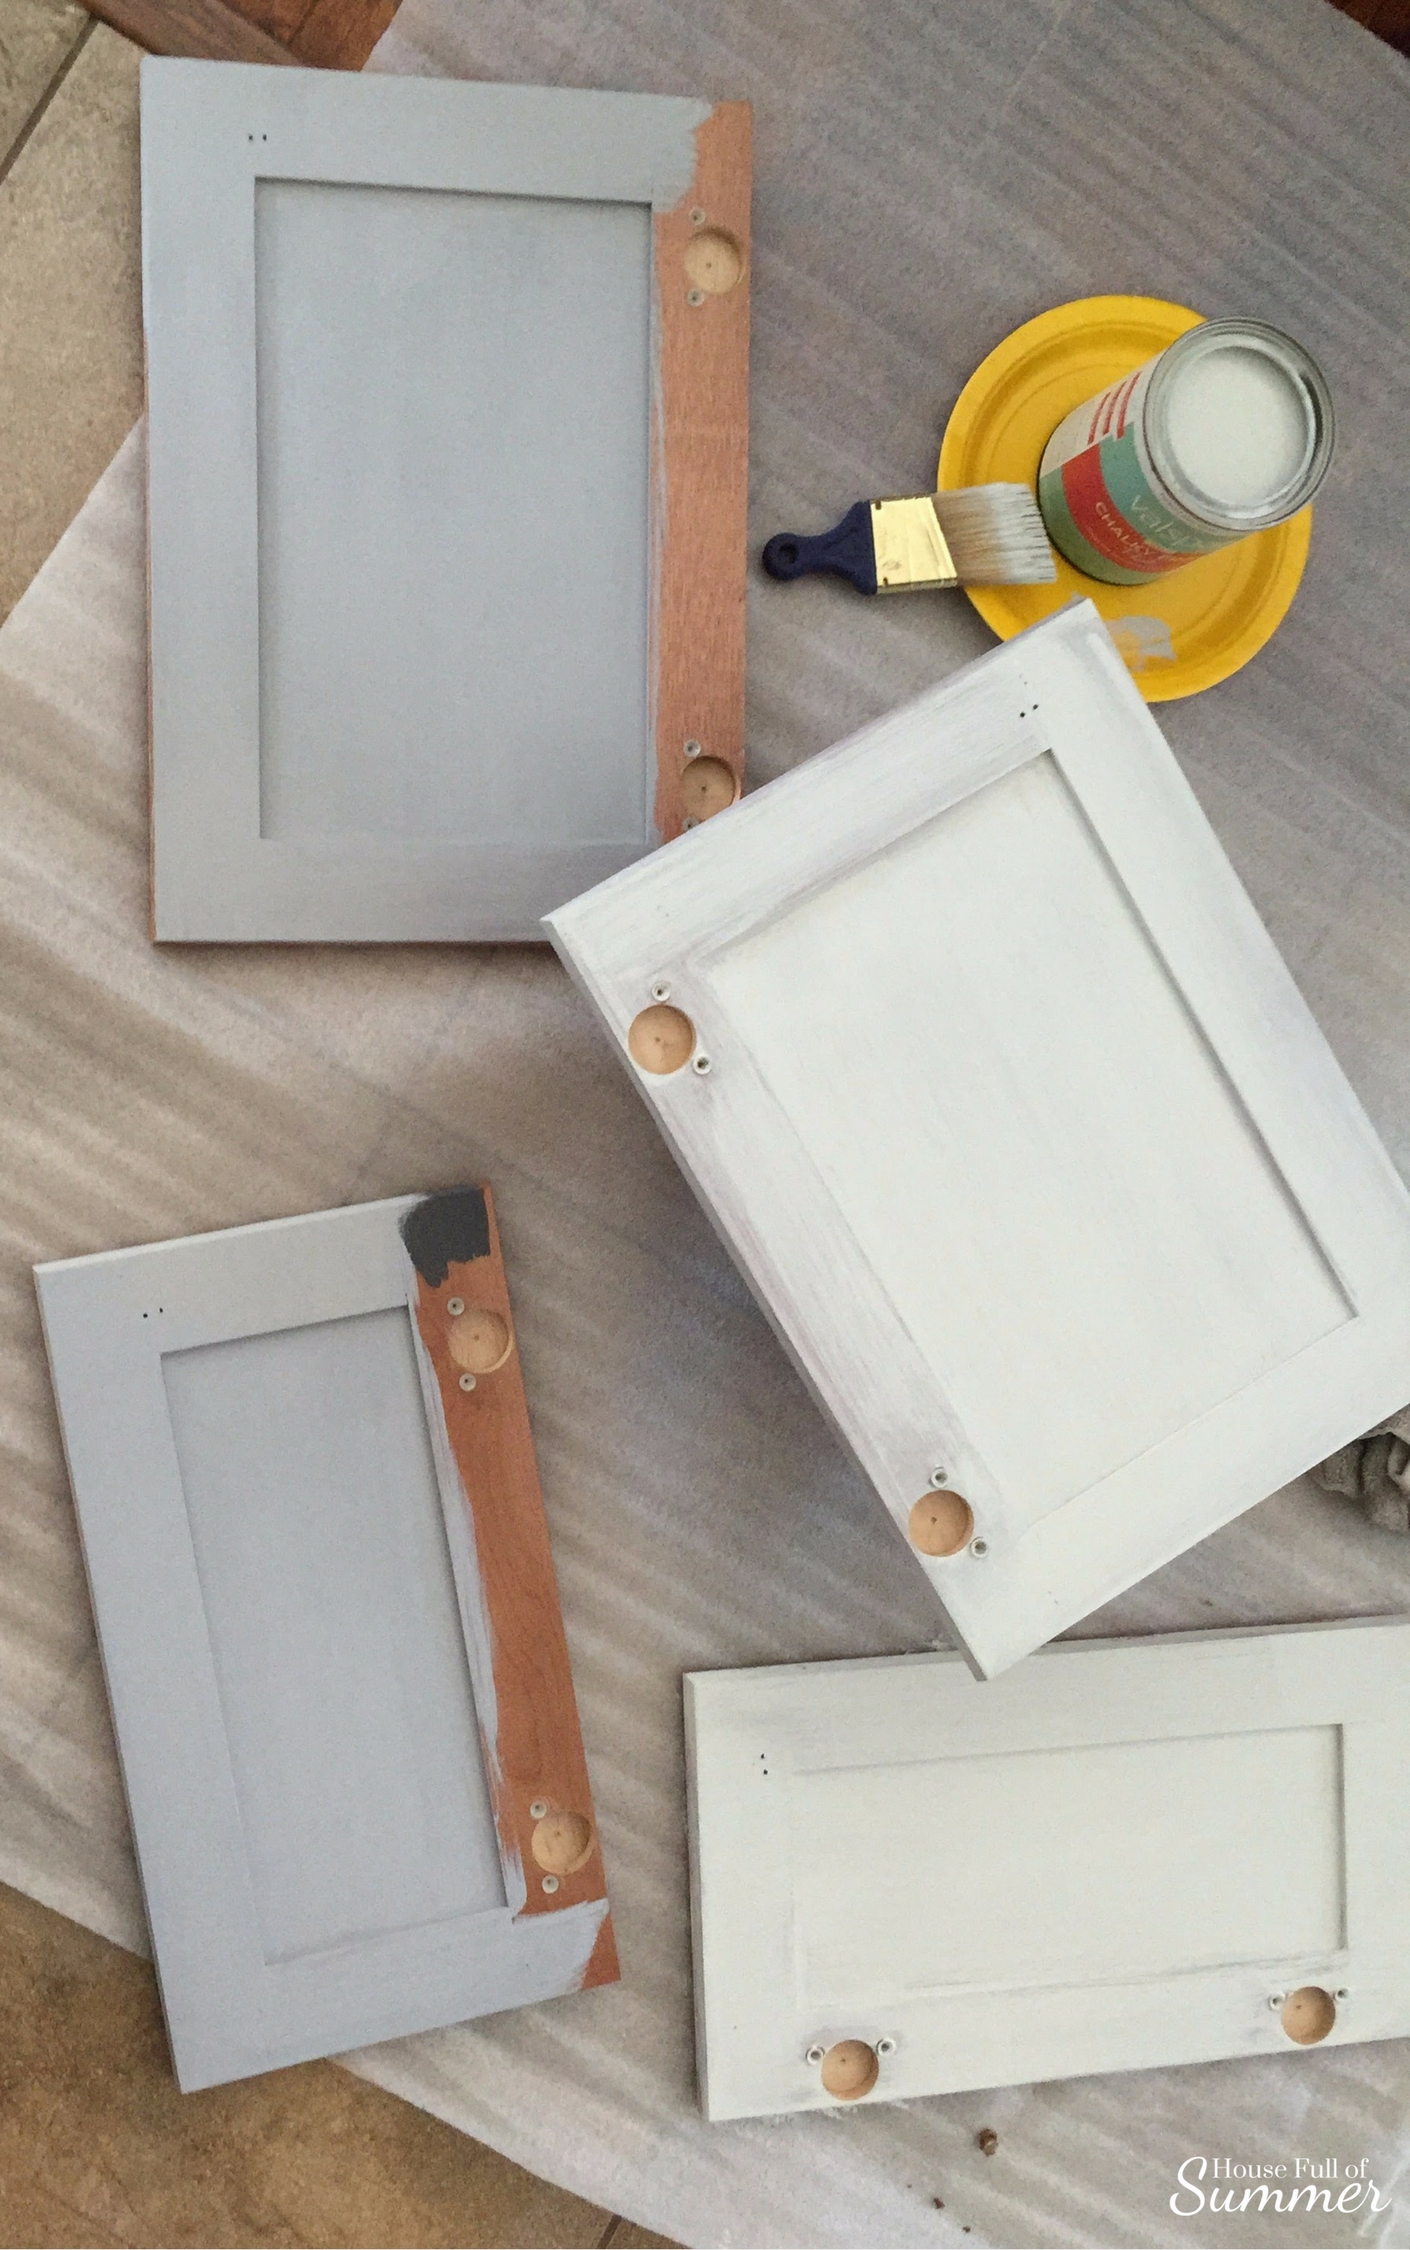
After two coats of chalk paint, sanding in between with a fine grit sandpaper and letting the cabinets air dry for several days, I used General Finishes polyacrylic top coat in satin to finish. The images below are from 2016, so they may differ from what you're seeing online or in stores, now. Simply roll it on with one of your smooth paint rollers and let it dry for at least a day or two. (Better safe than sorry!)
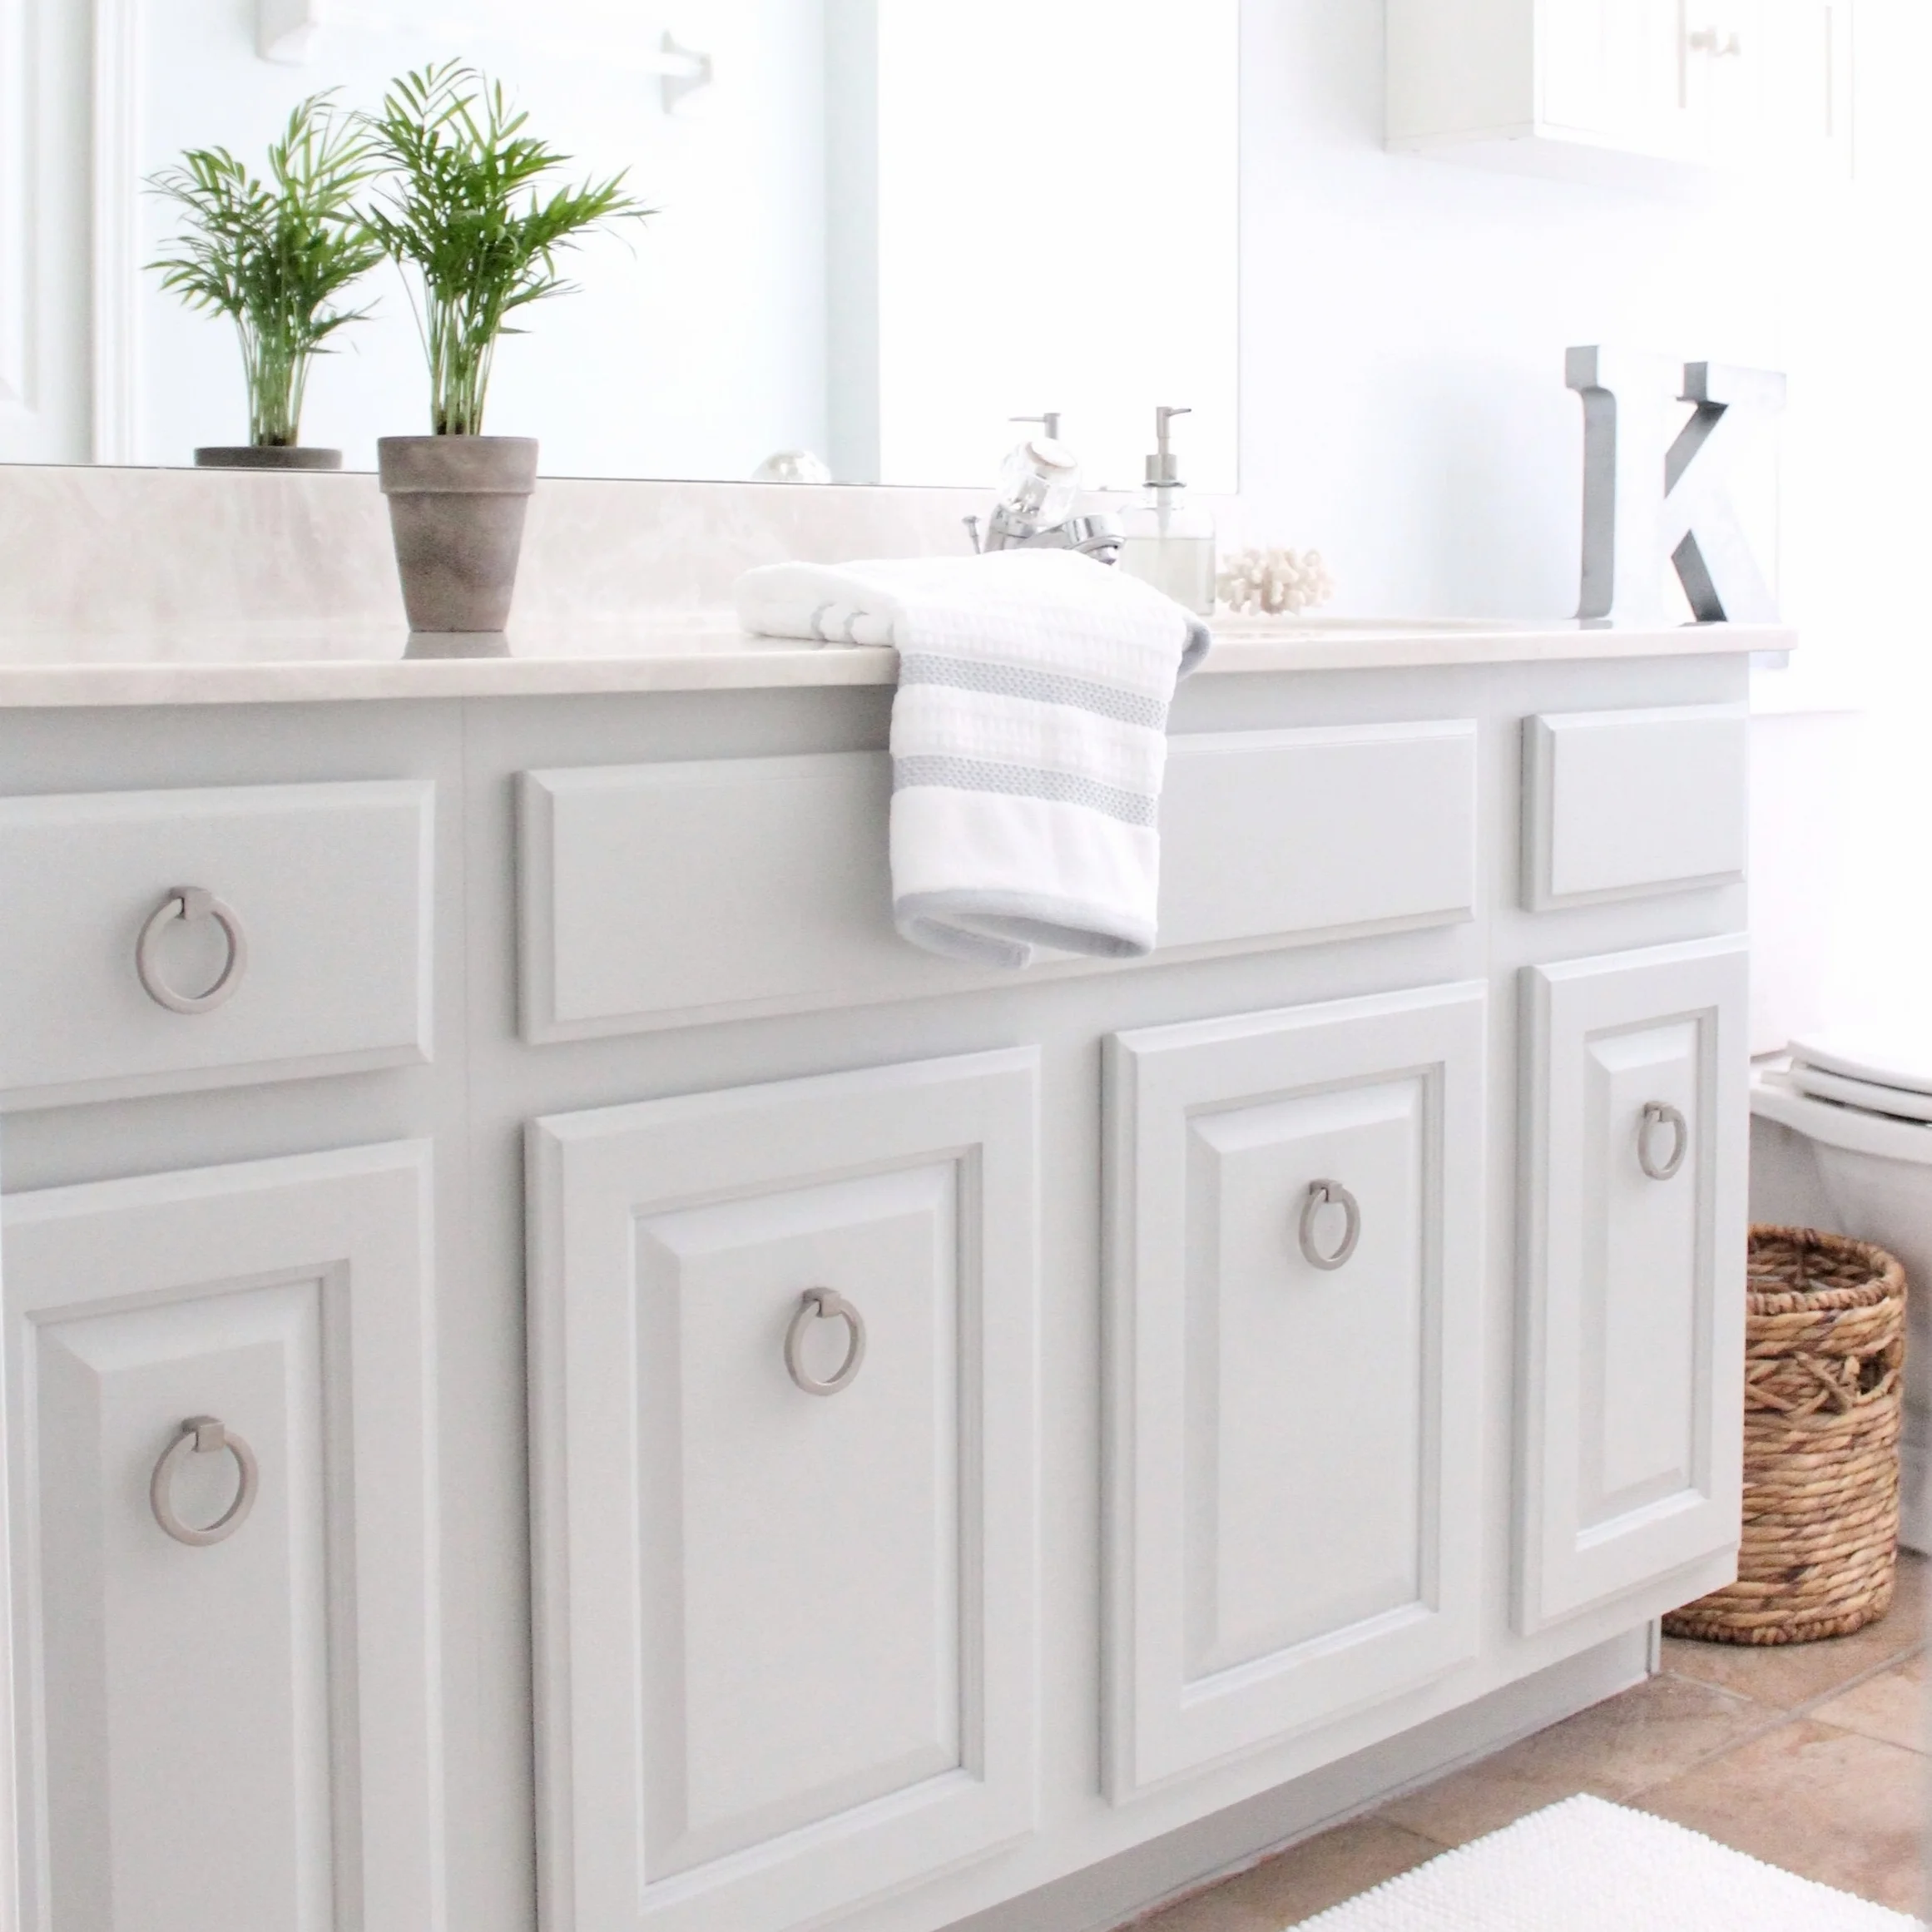
Since hardware is the "jewelry" of cabinets, I couldn't leave mine naked. I found these cute ring pulls in nickel for the best price available! Believe me, I shopped around!

They are fairly simple to install. I measured so that the center of the ring would be in the center of the drawer panel and then measured about a quarter of the way down the cabinet doors and centered the rings. Of course, it's just a personal preference and these rings could have even been centered in the door, too. Using a drill, I made small holes for the screws and installed the hardware.
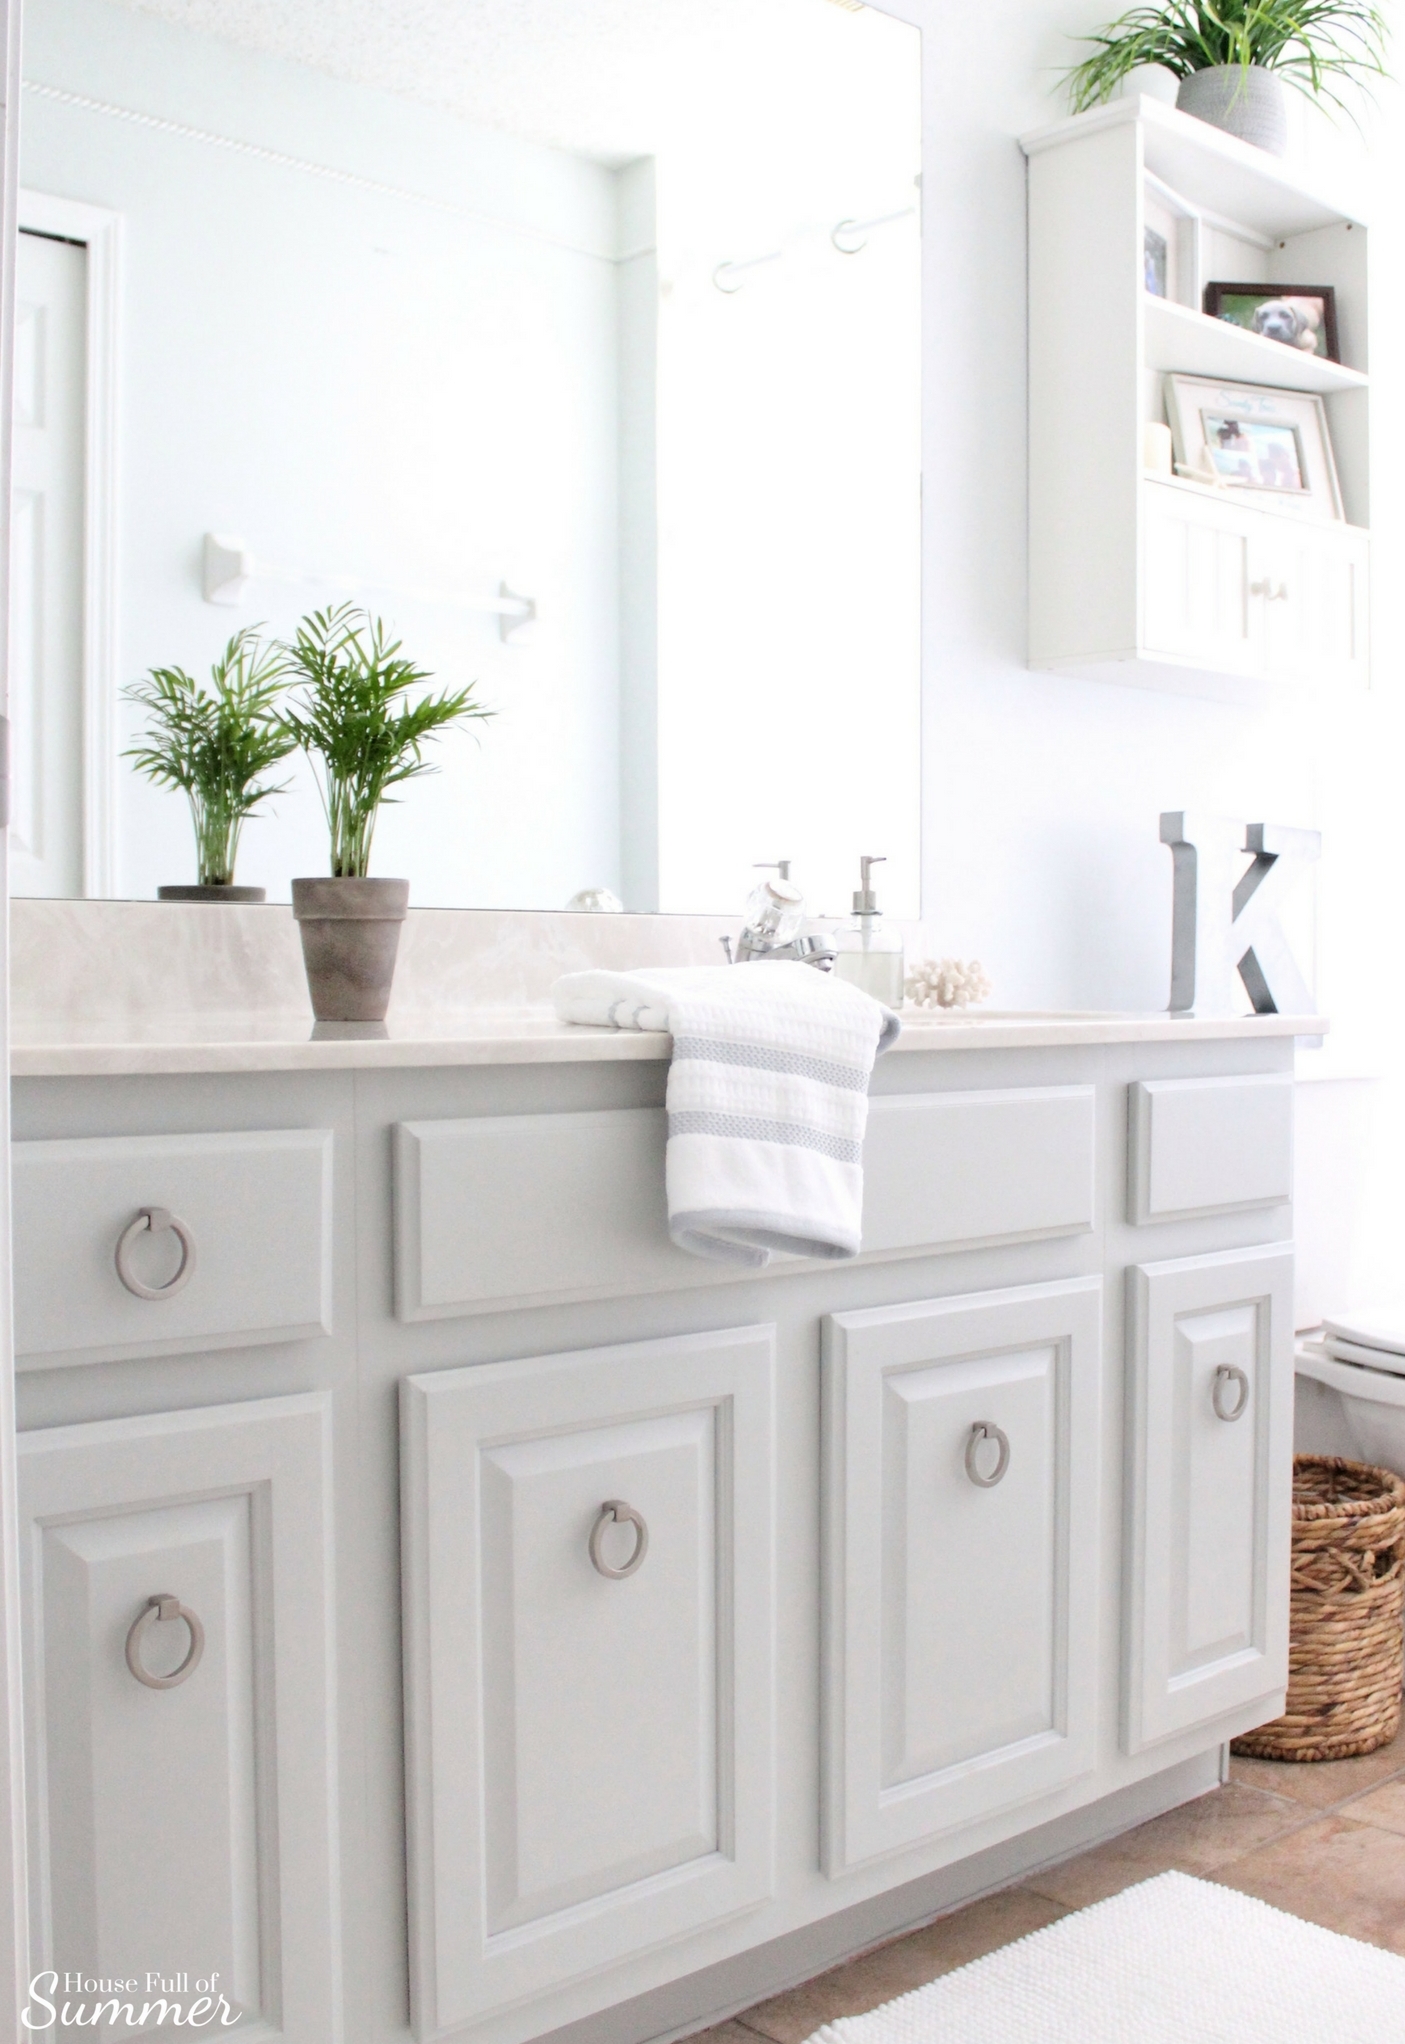
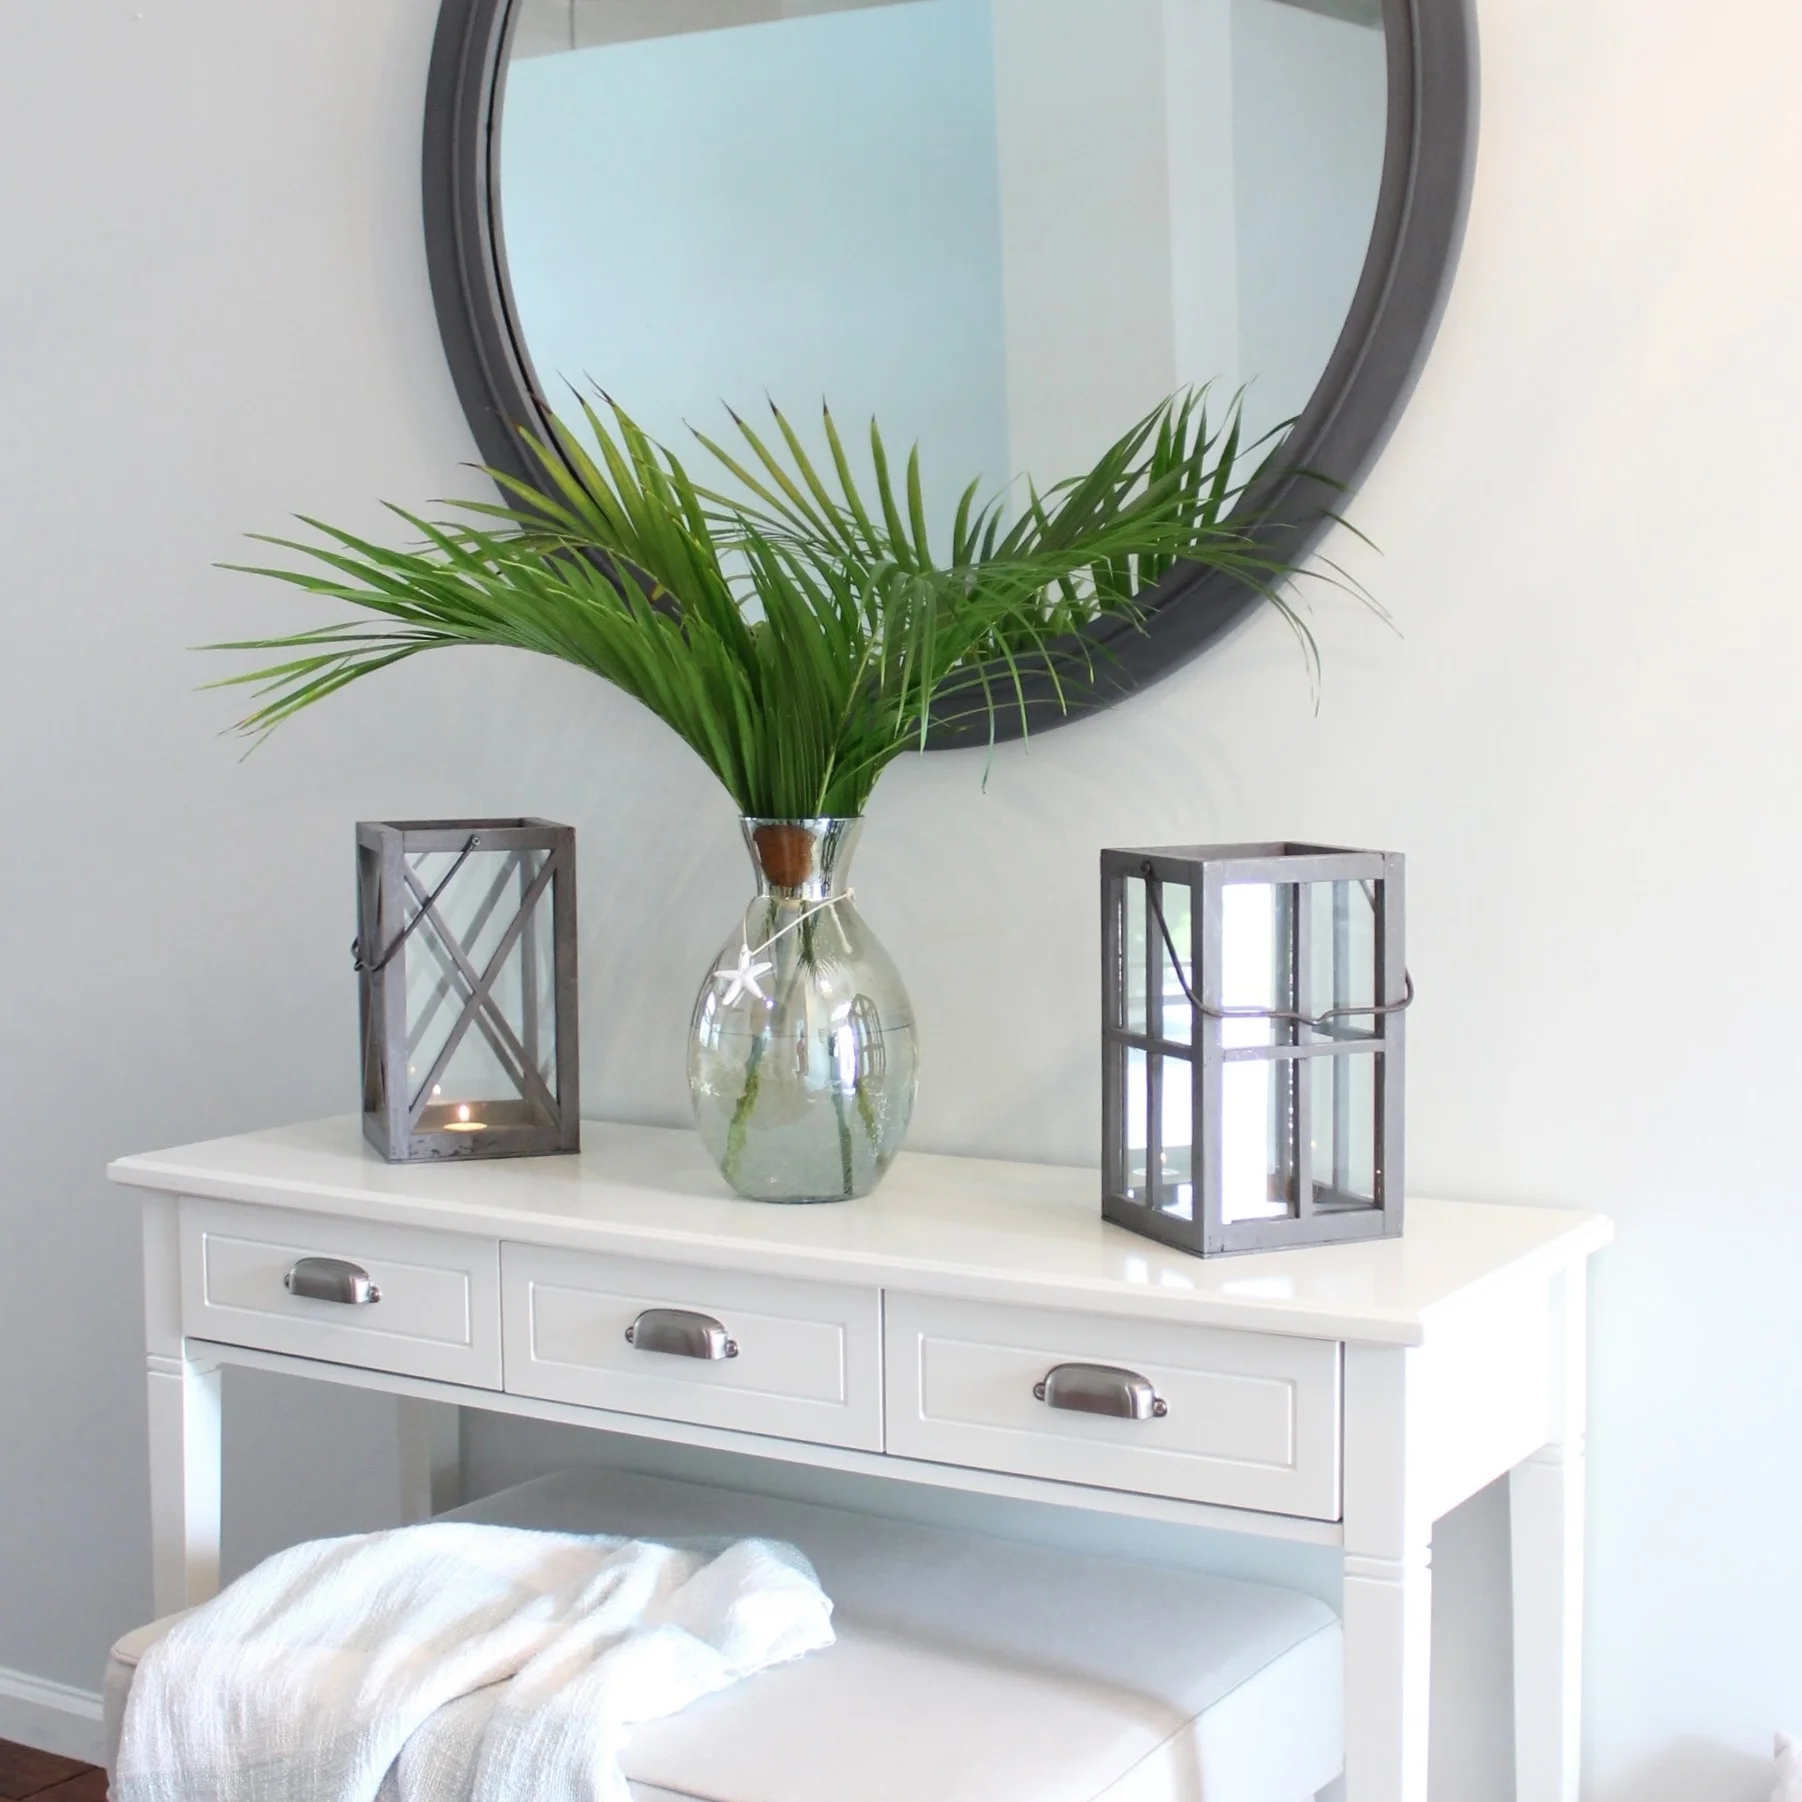
Do you notice all that natural light streaming in? There is a wide window right over the tub in the shower and the shower curtain was blocking some of that precious light. I recalled how many hotel rooms we've stayed in have a peep-through shower curtain with a strip of clear plastic or sheer fabric. I was able to find one online that is very high quality and comes with a fabric liner that snaps away. No hooks are required and the whole thing is machine washable! Now, the light can pass through the sheer strip of fabric and it really makes a great difference in this room! My cute little palm can even live in here because it's so bright!
I like the little accents that complete this bathroom, but the most important part is that I am still so very pleased with the durability of this paint and top coat! As I mentioned earlier, I believe in giving credit where credit is due, so I'd also like to thank my friend, Michele, at vintagefurniturereclaimed.com for giving me some of her expert tips and tricks on painting furniture! She has been such a huge help and her tips have really paid off! Since this worked out so well, I think I'm going to tackle my master bathroom soon. Stay tuned!
What is your favorite paint and/or top coat and how has it worked out for you? Tell me in the comments below!
Sending Sunshine,
Jessica